

It happened right as I was finishing up the Thanksgiving cleanup. I let go of the heavy stainless steel door, expecting it to hover at that perfect forty-five-degree angle, but instead, it plummeted toward the floor with a bone-chilling thud. My shins took the brunt of it, and my first thought wasn’t about the bruise forming; it was about the nightmare of disconnecting the water lines and dragging that heavy beast out of its nook just to fix a stupid piece of string. If you’ve noticed why your dishwasher door falls too fast when opened lately, you know exactly the sinking feeling I’m talking about. But here’s the good news: I’ve figured out how to bypass the heavy lifting and replace that snapped tension rope while the machine stays exactly where it is.
Save Your Shins and Your Hardwood Floors
The reality of modern kitchen design is that everything is tight. There’s barely a millimeter of clearance between the machine and your expensive cabinetry. The last time I tried to pull a unit out for a simple fix, I ended up needing to learn how to salvage your hardwood floors because I nicked the wood and caused a tiny, slow leak from a stressed copper pipe. That was a costly mistake I don’t want you to repeat. Most people think they need professional diagnostics for a door that won’t stay up, but this is a purely mechanical failure you can tackle yourself. According to data from RepairClinic, door cable kits are among the top five most-replaced dishwasher parts, often failing due to the friction of thousands of cycles.
Is This Really Possible Without Pulling the Unit?
You’re probably skeptical. I was too. My early mistake was assuming the pulley system was buried so deep that access was impossible. I actually tried to ‘macguyver’ a fix with a piece of high-test nylon cord once—don’t do that. The heat from the wash cycle eventually turns inferior plastics into a gooey mess, or worse, a fire hazard. By accessing the side panels through the kickplate or the narrow gaps in the cabinetry, we can thread a new rope using what I call the fisherman’s reach. It’s about working smarter, not harder. Before you go calling for expert diagnostics and repair tips, have you actually tried to peek under the kickplate with a flashlight to see the damage? Today, we are going to get that door back to its self-balancing glory. No heavy lifting, no plumbing disconnects, and definitely no more bruised shins. Have you ever had a simple repair turn into a kitchen-wide disaster because you tried to move the machine? Let me know, because we have all been there.
Strip the Kickplate to Reveal the Damage
First things first: get on your knees and grab a 1/4-inch nut driver. Most modern dishwashers have a metal or plastic kickplate held on by two screws at the very bottom. Removing this is like opening the hood of a car; it’s where all the mechanical secrets are hidden. Once that plate is off, shine a bright flashlight toward the far left and right corners. You are looking for a heavy-duty spring connected to a plastic cable. If your door is falling, one of those cables is almost certainly snapped or unhooked. While you are down there, it’s the perfect time to learn how to find the slow leak hiding under your kickplate, as moisture often accumulates near the spring mounts and can lead to rust. Identifying if the cable is the culprit prevents you from paying for professional diagnostics when a $15 part is the only issue.
Master the Fisherman’s Reach Method
This is where most people give up and pull the machine out, but you don’t have to. The cable runs over a pulley wheel located about halfway back along the side of the tub. To replace it without moving the unit, you need a long-reach tool—I prefer a pair of 11-inch needle-nose pliers or even a stiff piece of wire with a hook on the end. I remember the first time I tried this; I was convinced I could just tie the broken ends of the nylon rope back together. Within three cycles, the knot had caught in the pulley and jammed the door halfway open. I ended up having to learn how to quiet a rattling door after I bent the pulley bracket trying to force it. Lesson learned: always replace the cable, never repair it. Thread the new cable through the front door mount first, then use your hook tool to guide it over the top of the pulley. It’s exactly like threading a fishing line through a guide in the dark. If you can get the cable over that wheel, the rest is just hooking it to the spring. 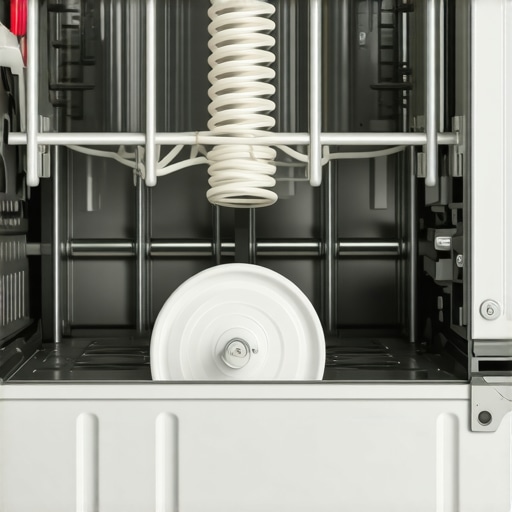
Check Your Pulley for Hidden Friction
A snapped cable is often a symptom, not the root cause. If the plastic pulley wheel has a flat spot or a groove worn into it, it will act like a saw blade on your new cable. Before you hook everything back up, spin that little wheel with your finger. If it doesn’t spin freely, you’re looking at how to swap a frayed door cable in under twenty minutes again in about six months. If the door is sitting crooked after you’ve attached the new parts, you might also need the simple trick for realigning a sagging dishwasher door to ensure the latch engages properly.
Verify Your Warranty Coverage First
Before you buy the kit, check when to trust a warranty for dishwasher repairs because some manufacturers actually cover the door balance kit under a secondary warranty due to known part failures. If you find yourself having to replace these cables every year, it might be worth investigating how appliance diagnostics can improve your warranty claims, as recurring mechanical failures can sometimes trigger a full unit replacement or a ‘lemon’ claim if documented correctly. Make sure you use OEM (Original Equipment Manufacturer) parts here; third-party ropes are often slightly thinner and stretch under the heat of the drying cycle, leading to that same ‘falling door’ feeling within weeks.Most homeowners are conditioned to think that ‘diagnostics’ requires a laptop or a secret button combination. I’m here to tell you that’s a myth that keeps repair bills unnecessarily high. While how smart diagnostic apps are changing home appliance repair is a fascinating trend, it often ignores the tactile feedback of the machine. When a door falls, the true diagnostic is in your ears and your hands. I’ve seen people pay $150 for expert diagnostics and repair tips just to be told a string broke. The real expertise lies in knowing that a heavy door doesn’t just hurt your shins; it exerts uneven torque on the entire frame, which can eventually lead to why your dishwasher is leaking from the bottom corners as the tub frame slightly warps over thousands of unbalanced cycles.
Why Your Warranty Might Actually Cover This (If You Phrase It Right)
Here is a nuance most people miss: if you tell a warranty provider your ‘door is heavy,’ they might dismiss it as wear and tear. But if you explain that the door imbalance is causing the latch to fail—preventing the machine from starting—it often shifts into the ‘functional failure’ category. This is a key part of understanding appliance diagnostics improving your warranty claims. According to experts at the Association of Home Appliance Manufacturers, mechanical door assemblies are engineered for roughly 10,000 cycles, yet early cord failure is frequently tied to external environmental factors like high-alkaline detergent overspray that weakens nylon fibers. 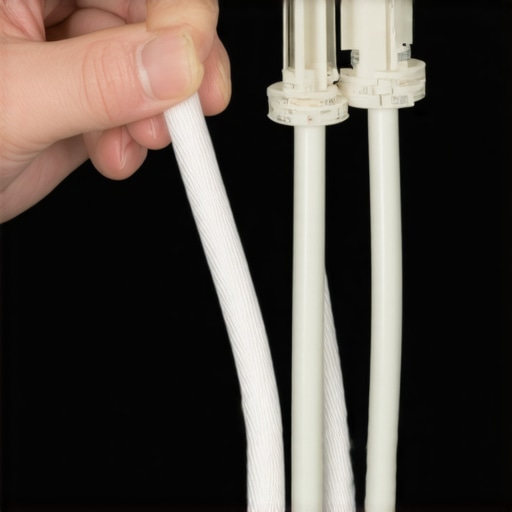 Beware of the ‘Cheap Part Trap.’ You might be tempted by a $5 generic cable kit, but the truth about non-manufacturer repair parts and your warranty is that they often use materials that expand differently under the high heat of a drying cycle. If that third-party cable snaps and the door falls, causing a flood, your insurance or warranty might deny the claim because of the ‘unauthorized’ component. It’s better to learn how to tell if your service plan actually covers motor failure versus mechanical parts before you begin tinkering.
Does a Snapped Cable Mean the Springs Are Dying Too?
Actually, no. In my experience, the springs are almost never the culprit. Everyone wants to replace the whole assembly because it comes in one box, but the springs are simple high-tension steel that usually outlasts the nylon cord by decades. Replacing the springs unnecessarily is just throwing money away. However, if your door is still acting up after the rope is fixed, you might need the simple trick for realigning a sagging dishwasher door rather than more tension. Have you ever fallen into this trap of replacing perfectly good parts just because you were already ‘under the hood’? Let me know in the comments.
Once you have successfully threaded that new cable using the fisherman’s reach, you aren’t just done; you have actually entered the world of preventative appliance maintenance. Most people stop at the fix, but the real pros look at why the failure happened in the first place. If you want to avoid repeating this process, you need the right gear in your kitchen junk drawer. I never start a repair without my 11-inch long-reach needle-nose pliers and a reliable digital multimeter. While you might think a voltmeter is overkill for a door cord, how to test your inlet valve with a simple voltmeter is a skill that saves you hundreds when the machine stops filling, and having it on hand during a door repair allows you to quickly check the door switch for continuity while the panels are already off. This is the difference between a ‘patch job’ and a professional-grade restoration.
The Gear that Separates Pros from Frustrated Homeowners
I swear by a specific brand of silicone-based lubricant for the pulley wheels—never use WD-40, as it attracts dust and turns into a grinding paste that eats nylon cords. According to the Whirlpool W10714545 Service Manual, the door balance system relies on a precise coefficient of friction. If you deviate from that by using the wrong grease or a generic cable, the door will either feel too heavy or spring back with dangerous force. I always keep a few business cards in my tool kit as well; they are the perfect thickness for how to test a door latch with a business card, ensuring the door is perfectly aligned after you have adjusted the tension. If that card slides out too easily, your seal isn’t tight, and you are headed for a mess on your floor. 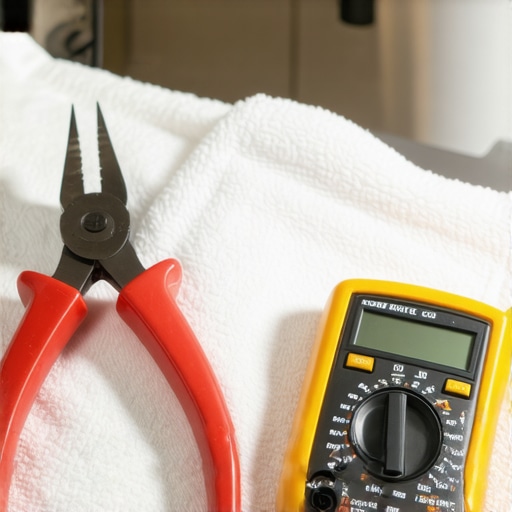
How can I stop my dishwasher door from snapping again?
The secret to longevity isn’t in the parts; it is in the environment. High heat and chemical exposure are the enemies of nylon. If you frequently use the ‘Heavy’ or ‘Sanitize’ cycles, the internal cabinet temperature can degrade the plastic pulleys over time. To mitigate this, I recommend reducing energy costs by timing your dishwasher cycles correctly and using the air-dry setting when possible. This lowers the ambient heat exposure for the mechanical components hidden behind the kickplate. Furthermore, the Association of Home Appliance Manufacturers (AHAM) Technical Bulletin 2021-04 notes that tension cable friction increases by nearly 40% when the pulley housing is contaminated with detergent residue. A quick wipe-down of the pulley path every six months during your routine cleaning can literally double the life of your door cables.
Why Software Diagnostics Are Only Half the Battle
Looking ahead, I predict we will soon see ‘smart’ tension sensors built into the springs that send a notification to your phone before the cable snaps. We are already seeing how smart diagnostic apps are changing home appliance repair by identifying motor failures, but mechanical parts are still the ‘blind spot’ of modern tech. Until those sensors are standard, you have to be the sensor. Listen for a slight squeak when you open the door; that is the sound of a cable fraying. If you catch it early, you can learn how to swap a frayed door cable in under twenty minutes before it snaps and leaves you with a bruised shin. Don’t wait for the ‘bone-chilling thud’ I experienced. Grab your flashlight tonight, pull off that kickplate, and give those cables a quick tug to check for slack. If they feel mushy, replace them now—it is the cheapest insurance you can buy for your kitchen.
Hard-Won Secrets from the Repair Trench
After years of tinkering, I’ve realized that the ‘snap’ of a cable is often the dishwasher’s way of telling you that the door was misaligned for months. One lightbulb moment for me was discovering that understanding appliance diagnostics improving your warranty claims can actually save you more money than the repair itself; if you document the failure as a mechanical defect rather than wear and tear, you might get the parts for free. Another hard truth? If you ignore a frayed cable, the constant slamming will eventually warp the frame, leading to why your dishwasher is leaking from the bottom corners. It’s never just about the rope; it’s about the structural integrity of the whole machine.
The Tiny Toolkit for Massive Savings
I don’t believe in buying every gadget at the hardware store, but there are three things that make this ‘fisherman’s reach’ method possible. First, 11-inch curved needle-nose pliers are non-negotiable for reaching the pulley without pulling the unit. Second, a high-lumen headlamp is better than a flashlight because you need both hands free to thread the nylon. Third, I always keep a multimeter nearby; knowing how to test your inlet valve with a simple voltmeter while the kickplate is already off is the ultimate pro move. I also recommend keeping a copy of your service contract handy; sometimes the hidden loophole that gets your denied claim reversed is buried in the fine print about mechanical assembly failures.
Claim Your Victory Over the Heavy Door
There is a specific kind of pride that comes from fixing a major kitchen appliance with a $15 part and thirty minutes of your time. You don’t need a degree in engineering to master these dishwasher diagnostics; you just need the patience to look under the kickplate and the right tools to reach into the gaps. By handling this repair yourself, you’ve protected your shins, your hardwood floors, and your wallet from an unnecessary service call. Your kitchen is now a safer, quieter place because you took the time to do it right. Have you ever successfully fixed a ‘broken’ appliance only to realize the part cost less than a cup of coffee? Let me know in the comments below!