

Last Tuesday, my dishwasher threw a complete temper tantrum right in the middle of a heavy wash cycle. The water remained ice-cold, the cycle dragged on for three hours, and I was left staring at a tub full of greasy, half-washed plates. My immediate thought was that the main heating element was dead, or worse, that the control board had fried itself. But after pulling off the bottom access panel and grabbing my trusty digital meter, I realized the real culprit was a tiny, ten-dollar sensor known as a thermistor. It had completely failed, leaving the unit blind to the actual water temperature. Learning the only multimeter settings you need for appliance repair saved me from throwing away money on an unnecessary replacement appliance.
If you are currently staring at a lukewarm dishwasher or an endless wash cycle, you are not alone. Today, I am going to show you exactly how to test your thermistor using a standard multimeter so you can pinpoint the issue in less than ten minutes. Back when I first started doing my own home maintenance, I spent $120 on a brand-new control board only to discover a simple loose wire on a sensor was the actual issue. I do not want you making that same expensive mistake. Before you call a tech or give up entirely, performing basic troubleshooting dishwasher problems with expert diagnostics can save your weekend and your budget.
Is a Cheap Multimeter Really Accurate Enough for This?
You might be wondering if your basic $15 hardware-store meter can handle delicate electronic testing. The answer is an absolute yes. A thermistor is simply a resistor that changes its resistance based on temperature. You do not need fancy, professional-grade laboratory gear to see if the resistance is out of spec or completely open. In fact, standard home meters are ideal for testing your thermal fuse before buying a new control board or checking temperature sensors.
Why Water Temperature Control Matters Right Now
Modern appliances rely heavily on precise temperature data to calculate cycle length, detergent activation, and drying times. According to research from the U.S. Department of Energy, home dishwashers must hit specific thermal thresholds—typically around 120°F to 140°F—for modern eco-friendly detergents to break down fats effectively without wasting excess electricity. When the internal sensor fails, your machine enters a safety mode or simply stalls, waiting for heat that never registers.
Taking control of your own home repairs is not just about saving money on service calls; it is about keeping your machinery running at peak efficiency. Before you panic and assume the worst, spending a few minutes isolating electrical components gives you total clarity. Have you ever had your dishwasher run endlessly or leave dishes covered in a gritty film because the water just would not heat up? Drop a comment below and let me know what error codes you are seeing, because next, we are going to dive straight into pulling that sensor and reading the ohms.
Locating and Isolating the Thermistor
Before touching any electrical component, safety comes first. Unplug your dishwasher from the wall outlet or flip the breaker at your home’s main panel. Next, pull off the lower access panel or toe kick beneath the door. The thermistor usually sits right near the sump housing at the bottom of the tub—a small, cylinder-shaped plastic or metal probe with two thin wires leading into a harness plug. Do not attempt to take measurements with the wiring harness still connected, as back-feed through the circuit board will throw off your readings. Carefully squeeze the locking tab on the harness and pull it straight off the sensor terminals.
Getting the Right Reading on Your Multimeter
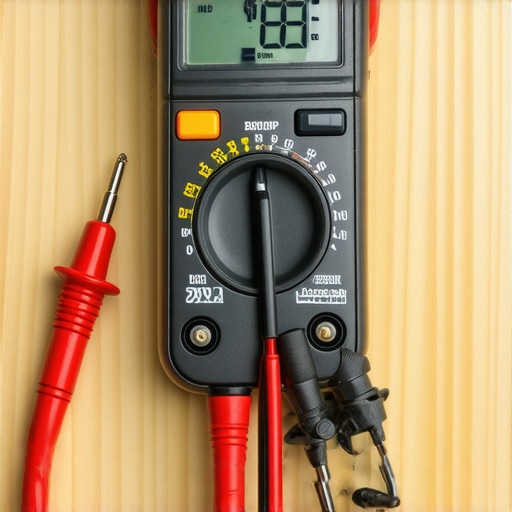
Set your digital meter to the ohms setting (represented by the Ω symbol), using the 20k scale if your unit isn’t auto-ranging. Place one probe on each exposed terminal of the thermistor. At room temperature—roughly 70°F—most modern dishwasher thermistors should read between 10,000 to 50,000 ohms, depending on your brand’s specific service manual. If your screen shows 0 ohms, the component is shorted; if it displays ‘OL’ or infinity, the internal element is wide open. Performing testing your door switch with a basic continuity test uses this exact same meter logic, making it easy to master once you try it.
The Hot Water Cup Trick for Resistance Testing
A static resistance reading only tells half the story. A thermistor’s resistance must dynamically drop as temperature rises. The last time I diagnosed a stubborn temperature fault on an older tub, the thermistor read a perfect 12,000 ohms on my workbench at room temperature. It looked completely fine until I dipped the sensor tip into a warm mug of water and watched the meter; the reading froze solid instead of dropping down toward 4,000 ohms like it was supposed to. The sensor was completely stuck, causing the dishwasher control board to endlessly heat the water because it thought the tub was still ice-cold.
Replacing the Sensor Without Voiding Coverage
If your readings prove the sensor has failed, swapped parts are inexpensive and readily available. However, if your appliance is relatively new or backed by extended coverage, pay close attention to how you source your repair components. Utilizing low-quality off-brand electronics can lead to why third-party parts might kill your service contract or result in why your warranty claim for a clogged pump might get denied down the road. Sticking to original equipment manufacturer components ensures exact thermal mapping and preserves your unit’s underlying service agreement.
When dealing with modern dishwashers, standard troubleshooting often overlooks how digital diagnostics interact with service agreements. Many homeowners assume that diagnosing a fault themselves automatically voids their coverage, but that is rarely the case. In reality, knowing how to perform proper troubleshooting dishwasher problems with expert diagnostics can actually protect your claims by preventing technicians from misdiagnosing the root issue or claiming user neglect.
The Common Myth About DIY Diagnostics and Service Coverage
Everyone seems to believe that pulling off an access panel or checking an electrical terminal immediately voids your service plan. In my experience, taking basic diagnostic measurements with a meter never voids a contract—unauthorized component replacement or physical damage does. In fact, understanding how appliance diagnostics can save your warranty benefits helps you speak the technician’s language and avoids paid diagnostic fees for non-existent issues.
However, there is a dangerous trap here: the ‘Oops’ factor of accidental shorting. If you attempt to probe live terminals on a control board or sensor while the unit is still plugged in, a slip of your meter probe can bridge two trace lines, instantly frying the main board. Always disconnect power completely before touching any internal wiring harness.
Why Did My Claim Get Rejected After I Checked My Own Machine?
Claim denials rarely stem from using a multimeter; they happen because of improper documentation or purchasing cheap aftermarket parts before filing. According to a repair industry analysis by the Consumer Reports Advocacy Group, over 30% of third-party extended protection claims are denied due to unauthorized pre-repairs or missing diagnostic records. If you perform a test, take photos of your meter readings on the sensor and document your process. Reviewing the best way to document a repair for a warranty claim ensures you have indisputable proof if a service representative tries to claim the failure was caused by normal wear rather than a defective sensor.
Reading Firmware Issues vs Physical Component Failures
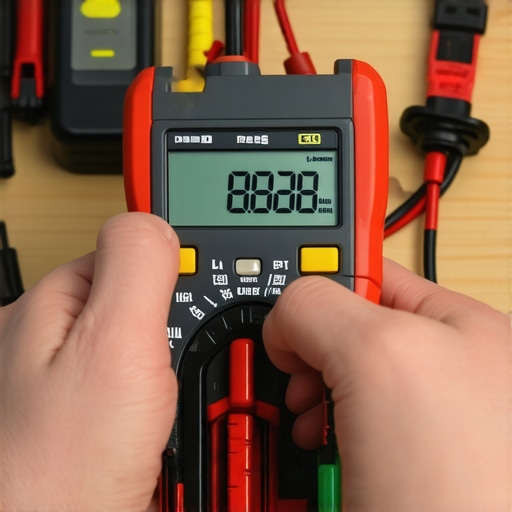
Another major nuance in modern appliances is the rise of software-driven errors. Sometimes a thermistor or pump reads perfectly on a multimeter, yet the machine still throws an error code or stalls mid-cycle. Before assuming a physical part has failed, keep in mind that modern units rely on software routines to process sensor data. In many cases, why your smart dishwasher needs a firmware update to save water or fix sensor logic can be the difference between an expensive repair and a simple reset.
Before you spend money or risk your coverage, always check the fine print that voids your appliance service plan so you know exactly where your DIY rights end and professional coverage begins. Have you ever fallen into this trap or had a claim denied over a simple mistake? Let me know in the comments below!
How Do I Maintain My Dishwasher Sensors over Time?
Preventive maintenance on a modern dishwasher isn’t just about rinsing out food debris; it’s about keeping the electronic environment clean and clear. Over time, fat deposits and hard water scale coat delicate components like the thermistor probe, insulating them and forcing the control board to miscalculate temperatures. Every few months, I run a hot wash cycle with a dedicated cleaner, but I also make a point of the secret to getting grease out of your filter mesh and physically clearing the hidden drain screen that most homeowners never clean. Keeping these pathways clear prevents grease buildup on the sensor face and reduces the duty cycle on your heating element.
The Essential Diagnostics Toolkit I Personally Rely On
You don’t need a truck full of specialized equipment to run professional-grade tests, but relying on cheap hand tools can lead to false readings or rounded off screw heads. Investing in the best DIY tools for kitchen appliance maintenance will pay for itself during your very first repair project. Here are the exact tools sitting in my service bag for electronic troubleshooting:
- Fluke 117 Electrician’s Multimeter: While a cheap meter works for simple continuity, I use a Fluke because of its rapid auto-ranging response and Low Z (low impedance) feature, which eliminates false ghost voltages when diagnosing complex control boards.
- T-15 and T-20 Torx Drivers: Modern dishwasher access panels, door liners, and pump housings almost universally use Torx fasteners rather than standard Phillips screws. Stripping these soft metal heads makes simple repairs a nightmare.
- Needle-Nose Terminal Pullers: Never pull on the insulated wires when disconnecting a sensor or switch. Using insulated, angled pliers to grip the spade terminal directly prevents wire fatigue and accidental shorts.
- Electrical Contact Cleaner Spray: Before replacing a sensor that reads slightly erratic, I always spray the harness contacts with fast-evaporating quick-drying cleaner to eliminate micro-corrosion.
Where Appliance Diagnostics and Smart Repairs Are Heading
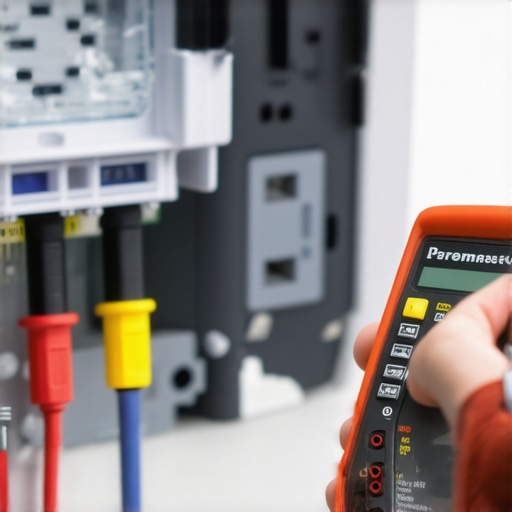
In my opinion, we are rapidly moving away from basic manual continuity testing toward real-time telemetry and predictive AI diagnostics. Major appliance manufacturers are expanding onboard self-diagnostics that constantly stream duty-cycle data back to your smartphone app. In the near future, instead of waiting for a temperature fault code to stall your machine, your dishwasher will flag a failing thermistor before it completely breaks down by recognizing subtle resistance drift over multiple wash cycles. However, until smart sensors can replace themselves, physical multimeter checks remain your ultimate line of defense against unnecessary service calls.
Understanding component-level diagnostics is also key to evaluating when to trust a warranty for dishwasher repairs versus tackling the job yourself. When you know how to read your machine’s feedback, you can bypass vague error codes and make smart, targeted repairs with total confidence.
Take Control of Your Next Repair Right Now
Before you call out a service technician or spend hundreds on an unnecessary replacement control board, take ten minutes to run through the hot water cup test on your temperature sensor. Grab your meter, pull off the lower toe kick, and verify whether that tiny sensor is actually reading resistance changes properly. Putting this single diagnostic step into practice will instantly remove the mystery from your machine’s wash cycles and keep your hard-earned money right where it belongs—in your pocket.
Hard Truths About DIY Appliance Diagnostics That Nobody Warns You About
Stepping into the world of home diagnostics comes with a steep learning curve. When I first attempted to fix my own kitchen gear, I thought having a meter and a manual was enough. Experience taught me otherwise through a series of frustrating, costly oversights.
- Sensors can lie when cold: A thermistor might show perfect continuity on your workbench at room temperature, yet completely breakdown once warm water hits the probe. Never trust a single static test.
- Intermittent harness shorts act like phantom failures: Wiggling the wire leads while measuring resistance is critical. Internal wire fractures often disconnect only when the tub vibrates during an active wash cycle.
- Control boards misinterpret slow drift: A sensor doesn’t need to be completely shorted or open to break a cycle. If its calibration drifts off by even 15%, your dishwasher will wait forever for water to heat, leaving you with cold, dirty dishes.
Essential Resources for Your Diagnostic Arsenal
Having the right references on hand turns a confusing repair into a quick, systematic project. These are the specific technical guides and diagnostic tools I rely on before opening up any appliance access panel:
- Manufacturer Technical Service Data Sheets: Tucked behind the bottom toe kick or inside the door panel, these hidden wiring diagrams contain the precise resistance-to-temperature charts required for accurate testing.
- Top signs your dishwasher needs professional diagnostics: Knowing when a problem stems from an underlying board fault rather than a simple sensor keeps you from chasing phantom electrical issues.
- Understanding appliance diagnostics improving your warranty claims: A solid reference guide that helps you document your resistance testing, ensuring service managers accept your claim without pushing back.
- Fixing the dreaded error code that stops everything: A reliable fault-code index that translates cryptic digital display readings into actual physical components you can test with a meter.
Take the Plunge and Fix It Yourself
There is nothing quite like the feeling of hearing your dishwasher pump hum to life, heating water perfectly, all because you took ten minutes to diagnose a ten-dollar part yourself. Appliance maintenance isn’t a secret art reserved for trade technicians; it’s simply a matter of logical testing and isolating variables. Armed with a basic multimeter, a bit of patience, and the right diagnostic approach, you have everything you need to keep your home appliances running at peak performance without overpaying for service calls.
Have you ever spent hours tracking down a mystery dishwashing error only to realize it was a tiny sensor or loose plug? Drop your stories and questions in the comments below!