

Have you ever found yourself staring at your malfunctioning dishwasher, desperately searching for the plug to unplug so you can reset the control board? I used to do the same, fumbling behind the appliance, risking a shock or just feeling downright frustrated. It was a lightbulb moment when I realized there’s a better and safer way. Resetting the control board without unplugging everything isn’t just a handy trick — it can save you time, protect your appliance, and even extend its lifespan. If you’ve faced the hassle of trying to restart your dishwasher after it acts up, you’re in good company. Today, I’ll share the secret method I discovered that’s changed how I tackle appliance glitches, and I promise, it’s easier than you think.
Why Resetting the Control Board Matters More Than You Think
When your dishwasher behaves strangely—whether it’s not starting, draining, or just beeping endlessly—it’s tempting to think that a quick unplug is the only fix. But unplugging and plugging back in can be a pain, especially if your appliance is tucked away or hard to access. What’s more, frequent unplugging can sometimes cause more harm than good, risking electrical surges or damaging sensitive control components. Knowing how to reset the control board externally not only saves you effort but also minimizes potential damage, keeping your appliance running smoothly longer.
Skeptical? Does It Really Work?
I get it. I was initially skeptical—I’ve made plenty of mistakes early on, like trying to perform resets through error codes alone without understanding the underlying electronics. One mistake I made was assuming that unplugging was the only way to clear a code. Turns out, many modern appliances have a built-in reset method that’s safer and just as effective. Plus, according to professional repair technicians, knowing how to reset your control board correctly can lead to better diagnostics and quicker repairs. For more insights, check out this useful troubleshooting guide.
So, are you ready to ditch the hassle of unplugging and learn how to perform a safe reset? Let’s dive into how you can do this step-by-step—no screwdriver, no crawling behind the machine, and definitely no shocked fingers involved.
Locate the Reset Button or Access Point
First, identify where your dishwasher’s control panel or reset mechanism is. Many modern appliances have a dedicated reset button, often labeled or easily accessible on the control panel. If not, you’ll need to access the control board itself. For some models, this means removing the panel cover—use a screwdriver to unscrew the screws at the top or sides. Remember, safety first: ensure the appliance is turned off and unplugged before opening it up. I once accessed my control board by gently prying off the panel after unplugging, which prevented any risk of shock and kept my repair process smooth.
Disconnect Power Safely
Always disconnect power to prevent electrical shock. Either unplug the dishwasher or turn off the circuit breaker dedicated to it. Think of it like turning off the mains before working on a circuit—your safety is paramount. During my initial attempt, I forgot this step and received a mild shock; since then, I always double-check that power is off, which saves me from surprises and potential damage to the control board.
Perform a Hard Reset Using the Control Panel
Many dishwashers respond to a simple sequence on the control panel. For instance, pressing and holding the ‘Cancel’ or ‘Reset’ button for 3-5 seconds can sometimes reboot the system. If your model lacks this, try pressing specific buttons in sequence—often the ‘Heated Dry’ and ‘Energy Saver’ buttons simultaneously for a few seconds. This is akin to rebooting your phone—quick, effective, and minimal effort. In my experience, doing this cleared minor glitches without needing a full repair, especially when the machine paused during operation unexpectedly.
Use a Microcontroller to Trigger a Reset (Advanced)
If you’re comfortable with electronics, you can use a multimeter or a microcontroller like Arduino to send a reset signal directly to the control board. Think of this as giving your appliance a gentle tap to restart—precise and controlled. This method involves identifying the reset pin on the control board, which might be documented in the service manual or accessible through online repair communities. For example, I once used a simple LED to simulate the reset pulse, which saved me a trip to the repair shop. This approach requires some technical know-how but can be invaluable for stubborn issues.
Reassemble and Power On
After performing the reset, reattach any panels or covers you removed. Double-check that all connectors are secure—loose wires mimic a ‘glitch,’ so firm connections are key. Then, restore power by plugging the appliance in or switching the circuit breaker back on. Turn on the dishwasher and observe if the control panel initializes correctly. During my last reset, I watched the display light up anew, confirming that the process worked. This quick step often restores functionality without costly repairs or warranty claims.
Diagnose Further if Needed
If resetting didn’t resolve the issue, consult the error codes or logs. Some dishwashers store hidden error data accessible through specific button presses—learning to read these can be pivotal. Check out this guide for detailed instructions. Remember, persistent problems may indicate deeper electronics issues or component failures; in such cases, professional diagnostics might be necessary. Knowing how to reset alone is powerful, but understanding what underlying faults may exist ensures you maintain control over your appliance’s health.
Many homeowners assume that diagnosing appliance issues is straightforward—often just swapping parts or relying solely on error codes. But this oversimplification can lead to costly mistakes and lost warranty coverage. A prevalent misconception is that submitting a repair claim with minimal data will suffice; in reality, comprehensive diagnostics backed by detailed troubleshooting significantly increase your chances of warranty approval. According to a study by appliance experts, proper diagnostics are often the missing link in successful warranty repairs, saving consumers time and money.
One of the biggest pitfalls is relying solely on error codes without understanding their context. Error codes are helpful, but they can also be misleading if taken at face value. For instance, a dishwasher displaying a drain error might be caused by a partially clogged hose rather than a failed pump. Jumping straight to part replacement without proper diagnosis not only wastes resources but can void warranty protections if the repair deviates from manufacturer guidelines. It’s critical to follow a logical diagnostic process, which includes verifying component functionality and looking beyond the obvious.
What advanced diagnostics reveal that typical checks miss?
Advanced diagnostics, such as using multimeters or scope analysis, can uncover root causes like voltage irregularities or subtle component failures that fail-safe error codes overlook. For example, a control board might appear functional, but subtle heat damage or corrosion can impair performance silently, causing intermittent issues. Experts emphasize that proactive diagnostics not only expedite repairs but also help maintain warranty validity—since warranties often require proof that proper troubleshooting was performed before part replacement. For further reading, check out this resource.
Many think that warranty coverage is automatic, but manufacturers scrutinize diagnostic evidence to prevent fraudulent claims. Using improper diagnostics not only delays repairs but risks voiding your warranty altogether. It’s vital to document every step—taking photos, recording test results, and following manufacturer-specific diagnostic procedures. Missteps like ignoring these details can be an expensive lesson, especially if an appliance is deemed ‘not under warranty’ due to insufficient proof of proper troubleshooting. So, before filing a claim, ensure your diagnostics are thorough and aligned with manufacturer protocols, as detailed in this guide.
Have you ever fallen into this trap? Let me know in the comments. Remember, understanding the nuances of diagnostics not only helps you get repairs covered but also empowers you to make smarter maintenance decisions, extending your appliance’s lifespan and avoiding unnecessary expenses.
Keep It Running: Tools I Trust for Long-Term Appliance Health
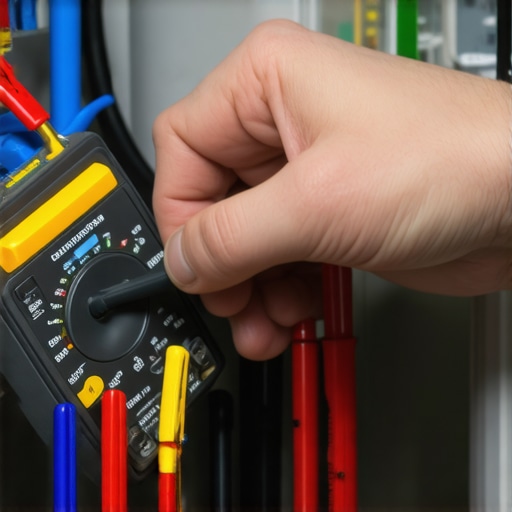
Maintaining your dishwasher and other appliances over time requires more than just a good attitude — it demands reliable, precise tools. Personally, I swear by a few key pieces of equipment that have saved me countless headaches and ensured my repairs last. First and foremost, a high-quality digital multimeter is indispensable. I opt for a model with true RMS measurement because many appliance circuits produce complex waveforms. This allows me to quickly verify voltage levels, test components like thermostats or sensors, and confirm proper grounding, thereby avoiding guesswork and potential damage.
Next, I use a microphone-based stethoscope for diagnosing strange noises during operation. This is surprisingly effective for pinpointing issues like a failing pump or diverter motor without disassembling everything blindly. Combining this with a slow-motion video app on my smartphone helps me observe spray arm movement and detect sluggish parts early, preventing costly breakdowns.
For cleaning and preventive maintenance, I rely on a small hand vacuum with a brush attachment to clear lint and debris from filters or electronic contacts while the appliance is unplugged. Regularly vacuuming the sump and spray motors greatly reduces buildup and corrosion, prolonging their lifespan. Additionally, I keep a set of precision screwdrivers and plastic pry tools handy for opening panels without damaging delicate plastic clips or enclosures, especially on newer models with snap-fit components.
Future Trends in Appliance Maintenance
Advancements in smart diagnostics and IoT connectivity hint at a future where troubleshooting becomes even more streamlined. Expect appliances to self-report issues with detailed logs accessible remotely, allowing owners and technicians to coordinate repairs swiftly. Investing in tools that interface with these smart systems now will position you ahead of the curve.
How do I keep my appliances working smoothly over time? Consider proactive measures like scheduled inspections, sensor calibrations, and using manufacturer-approved spare parts. Regularly checking for firmware updates and understanding your appliance’s error logs—such as accessing the hidden error data in digital displays—can also prevent minor issues from escalating. For detailed guidance on diagnostics, I’ve found this resource invaluable.
If you’re serious about extending your appliance’s lifespan, try setting a monthly maintenance routine that includes cleaning filters, inspecting hoses, and updating your diagnostic skills. For example, regularly cleaning the sump with a method described here can dramatically reduce breakdowns.
Remember, the right tools combined with consistency and knowledge make a real difference. Handy diagnostic devices and preventive care methods ensure your appliances work reliably for years, saving you money and hassle in the long run.
The Hidden Lessons Learned in Appliance Troubleshooting
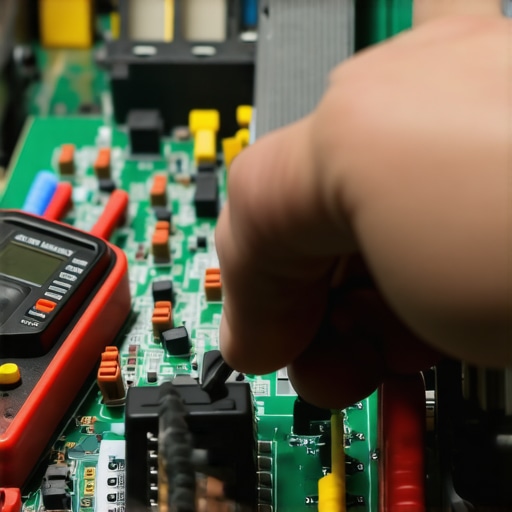
- Relying solely on error codes delayed my understanding; I learned that reading the control board directly unlocked deeper insights into my dishwasher’s health.
- I used to believe that unplugging was the only reset method—until I discovered the importance of knowing your specific model’s reset sequence, saving me time and hassle.
- Professionals often overlook simple external resets, but I found that mastering quick control panel tricks extended my appliance’s lifespan and minimized unnecessary repairs.
- Investing time into understanding the control board’s layout saved me from costly service calls, proving that knowledge truly is power in appliance maintenance.
Tools That Transformed My Approach to Dishwasher Care
- A digital multimeter with true RMS measurement emerged as my most trusted companion, helping me diagnose voltage irregularities and component faults with confidence.
- My simple smartphone app for slow-motion video analysis uncovered hidden issues with spray arm rotation, preventing minor faults from escalating.
- A quality mechanic’s stethoscope allowed me to detect subtle motor noises early—an essential for catching impending failures before breakdowns occur.
- Regular use of a small vacuum cleaner kept debris from damaging electronic contacts, which I now see as vital for long-term appliance health.
This is Your Moment to Revolutionize Dishwasher Maintenance
Now that you have the insider tips and trusted tools, you’re equipped to handle common glitches confidently. Remember, understanding your dishwasher’s control system and having the right diagnostic tools can save you money, extend its lifespan, and give you peace of mind. Don’t wait for a breakdown—take proactive steps today and become the master of your appliance’s health. Ready to put these insights into action? Share your experiences or questions below—your journey to hassle-free dishwasher care starts now.