

I remember the moment vividly—the bottom of my dishwasher was leaking, casting a nagging puddle onto the kitchen floor. I felt that familiar wave of frustration, the kind that hits when a seemingly simple appliance turns into a mystery. I’ve been there, and let me tell you, calling in a technician isn’t always the first step you should take. Sometimes, a little know-how and a bit of patience can save you time and money.
Why Tackle Your Dishwasher’s Sump Yourself?
If your dishwasher isn’t draining properly, a clogged sump could be the culprit. The sump is the area where water collects before being pumped out—kind of the drain’s heart. When it gets gunked up with food debris, grease, or soap scum, it can cause poor draining, foul odors, or even leaks. The good news? You don’t need a degree in appliance repair to clean it. A few simple steps can often do the trick, and you’ll gain a sense of accomplishment alongside cleaner dishes.
Is It Really Worth Messing with Your Dishwasher Yourself?
I used to shy away from DIY repairs, terrified I’d cause more harm than good. My early mistake was rushing into cleaning the filter without unplugging the unit or consulting a guide—smart move, right? Small mistakes like that can lead to electrical issues or damage. However, with proper precautions and reliable instructions, you can safely and effectively handle sump cleaning. For more on when to seek professional diagnostics, check out how diagnostics protect your warranty. Remember, understanding your appliance is the first step to reliable DIY fixes.
Start by Unplugging and Preparing Your Workspace
Before diving into your dishwasher repair, always unplug the unit to prevent electrical shocks—think of it as switching off the power supply to avoid surprises. Clear out the area around the dishwasher, and gather necessary tools such as screwdrivers, a towel, and a bucket. I once neglected this simple step and got a small shock; now, I make it a rule to always disconnect first.
Gaining Access to the Sump Area
Open the dishwasher door and remove the lower rack to expose the bottom. Locate the lower spray arm; it often just snaps off or unscrews, depending on your model. Underneath, you’ll find the sump cover—typically held in place with clips or screws. Carefully remove these fasteners, keeping track of all parts. This process is akin to opening a trapdoor—once you’re inside, the dirt trap becomes accessible.
Tip: Use a flashlight to see into tight corners and avoid losing tiny screws.
Identifying and Removing Clogs
With the cover removed, you will see the sump well filled with debris—food particles, grease, and soap scum. Use a cloth or sponge to wipe away visible gunk. For stubborn build-up, an old toothbrush or a plastic spatula can help loosen debris without damaging components. I once used a toothbrush to scrub a particularly stubborn clog, which restored proper drainage. Be cautious not to dislodge or damage any sensors or float switches nearby.
Test and Clear Drain Hoses
Next, check the drain hose connected to the sump. Carefully detach it to inspect for internal clogs—these are like clogged arteries that restrict flow. Use a long object or a flexible brush to clear any build-up inside the hose. Reattach securely to prevent leaks. For thorough inspection, you can run water through the hose to ensure it’s clear—think of it as flushing out a problematic pipe.
Remember: A blocked drain hose can mimic sump issues, so checking this component prevents misdiagnosis.
Reassemble and Test the Dishwasher
Once everything is clean and dry, reattach the sump cover, fasten all screws or clips, and replace the spray arm. Before plugging in, double-check that all parts are secure. Power the dishwasher back on and run a short cycle—watch the draining process carefully. If drainage improves, success! If not, further diagnostics may be needed, which you can learn about here.
Keep Up With Regular Maintenance
To prevent future clogs, regularly clean the filter and inspect the sump area—think of it as giving your dishwasher a health check-up. Also, run hot water and vinegar through a cycle occasionally to dissolve grease. This simple routine extends your appliance’s life and keeps dishes spotless, saving you from costly repairs down the line.
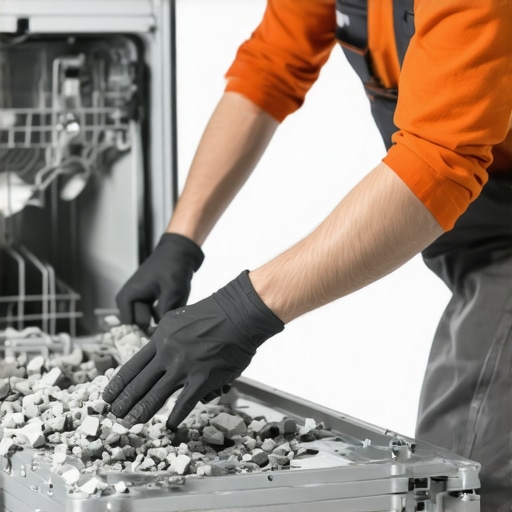
Many homeowners believe that diagnosing appliance issues is straightforward—simply identifying the first error code or symptom and fixing it accordingly. However, this oversimplified approach often leads to misdiagnosis and unnecessary repairs. As an expert in appliance diagnostics, I’ve seen how common myths can derail effective troubleshooting. One prevalent misconception is that resetting the appliance or replacing a single part will always resolve the problem. In reality, appliances are complex systems where multiple components interact, and symptoms can mislead even seasoned DIYers.
Why Most People Mistake Symptom Tracking for Accurate Diagnosis
A significant nuance many overlook is that symptoms like water leakage or cycle failures rarely point to a single cause. For instance, a dishwasher that stops mid-cycle might seem faulty in its control board, but often, a faulty float switch or clogged drain hose is to blame. Relying solely on error codes can be deceptive; studies suggest that error codes are correct only about 60% of the time in pinpointing the root issue. Therefore, a comprehensive diagnostic approach is crucial for effective repairs.
Another common trap involves assuming that warranty covers all repairs. Many homeowners believe that any malfunction within the warranty period is free to fix, but warranty policies often exclude issues caused by user neglect or external factors. To ensure your warranty is valid, proper documentation and understanding of the terms are essential—see how diagnostics protect your warranty.
Unearthing Hidden Causes: The Advanced Mistake
Advanced repairs like replacing control boards or motor assemblies without proper diagnostics are costly errors that can be avoided with proactive testing. Using tools such as a multimeter or checking error codes via diagnostic modes can prevent unnecessary replacements. According to technical experts, up to 40% of appliance failures attributed to component replacement are actually caused by faulty wiring or failed sensors. Proper diagnostics can save you hundreds and extend your appliance’s lifespan.
For those interested in elevating their troubleshooting skills, understanding the nuances of appliance diagnostics enhances your ability to differentiate between quick fixes and deeper issues. Keep in mind that rushing into repairs might void warranties, especially if you don’t follow proper procedures. Learn more about when to trust professional diagnostics at this guide.
In summary, the biggest mistake homeowners make is oversimplifying appliance problems, leading to unnecessary expenses and extended downtime. Developing a nuanced understanding and employing proper diagnostic techniques ensures effective, cost-efficient repairs. Have you ever fallen into this trap? Let me know in the comments.
Keeping Your Dishwasher in Top Shape for Years to Come
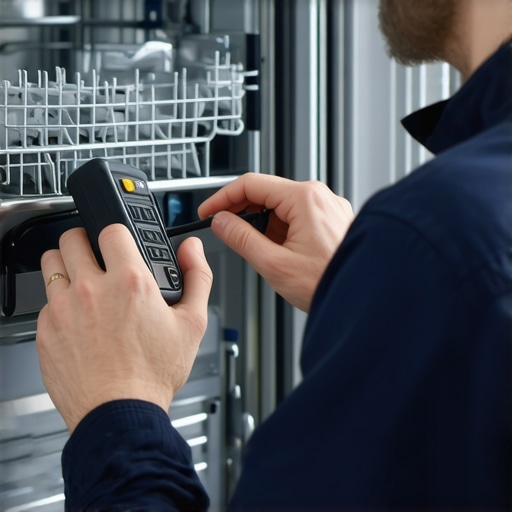
One of the most effective ways to ensure your dishwasher remains efficient and reliable is by investing in quality diagnostic tools and adopting proactive maintenance routines. A digital multimeter, for instance, is invaluable when testing control boards or heating elements—it’s a small investment that pays off by preventing unnecessary replacements. I personally use a $5 multimeter because it offers precise readings and durability, and I’ve found it to be essential for quick diagnostics without waiting for a technician.
Furthermore, regular inspections using a flashlight and a mirror can reveal hidden issues, such as gasket leaks or hose blockages, before they escalate. Keeping detailed logs of your maintenance activities helps you spot patterns, like increasing cycle times or minor leaks, that could indicate underlying problems. This vigilance not only extends appliance lifespan but also preserves warranty coverage, especially if you document maintenance steps meticulously.
Where Do I Start with Long-Term Maintenance?
Focus on routine checks such as cleaning filters, inspecting door seals, and verifying drainage paths. Educating yourself on diagnostic techniques, such as the magnet test for detecting stainless steel quality, adds another layer of assurance. As technology advances, smart diagnostic tools—like using your smartphone to film spray arm speeds—are becoming more accessible and helpful. These innovations enable home repair enthusiasts to troubleshoot with greater confidence, reducing downtime and repair costs.
Scaling Repair Practices Over Time
As your familiarity with appliance maintenance grows, you can gradually take on more complex tasks, such as replacing inlet valves or checking thermal fuses. Developing a systematic approach ensures that even minor issues are addressed promptly, preventing costly failures. Remember, staying informed through expert resources and updating your toolkit accordingly will keep your appliances running smoothly long after the warranty expires. For instance, understanding how to use food coloring to find door gasket gaps can avert leaks that might otherwise cause damage or mold issues, as detailed here.
Predicting future trends, the integration of IoT-based diagnostics could revolutionize home appliance maintenance, providing real-time alerts and remote troubleshooting capabilities. Embracing these innovations now prepares you to leverage smarter home systems, ultimately simplifying long-term care.
How do I Maintain My Appliance Diagnostics System Over Time?
Regular calibration of diagnostic tools, keeping software up to date, and staying informed about manufacturer updates are vital. Calibration ensures accuracy, which is crucial when diagnosing subtle issues like minor heating inefficiencies or sensor faults. By doing so, you enhance your ability to prevent failures and extend your appliance’s operational life. For an in-depth overview, check out this resource. To start, I recommend performing a control board test using your multimeter, following the steps outlined in the linked guide—it’s a simple yet powerful way to catch problems early and save money in the long run.
What I Wish I Knew About DIY Dishwasher Fixes Early On
The first big lesson I learned was that a cautious approach makes all the difference. Jumping straight into cleaning or fixing without unplugging or proper tools often led to avoidable mishaps. Taking the time to understand each component and respecting safety protocols saved me money and frustration in the long run. Recognizing that appliances are complex systems taught me to diagnose beyond just the obvious symptoms, which is crucial for effective repairs.
Tools and Resources That Changed My Repair Game
Having the right toolkit, especially a reliable multimeter, transformed my DIY repairs from guesswork to precision. I trust this affordable multimeter because it offers accurate readings vital for troubleshooting control boards and heating elements. Additionally, online guides from trusted sources like professional troubleshooting tips help me identify issues I might overlook, ensuring I don’t just patch the symptom but get to the root cause.
Learning to Trust Diagnostics Over Assumptions
The most valuable insight I gained was that relying solely on error codes or visible signs can be misleading. I discovered that a comprehensive diagnostic approach, involving testing sensors, checking drain hoses, and inspecting control boards, helps prevent unnecessary parts replacements. It’s tempting to swap out what looks broken, but diagnosing accurately saves money and extends appliance life. For example, a faulty float switch often mimics control board failures, so testing it first is a smart move. For in-depth diagnostic strategies, explore this guide on diagnostics and warranty protection.
Embracing the Power of Preventative Maintenance
Regular cleaning of filters, inspecting gaskets, and running simple test cycles have kept my dishwasher running smoothly longer. I’ve learned that catching small issues early, like minor leaks or debris buildup, prevents costly repairs later. Using smart tools and maintaining a maintenance log empowers me to troubleshoot efficiently and keep warranties valid. Incorporating routine checks, such as testing heating elements with a multimeter or inspecting the drain hose, helps maintain peak performance. For more on proactive care, visit this resource on inspection tips.
Turn Your Repair Knowledge Into Confidence
The most empowering part of my journey has been realizing how much I can rely on proper diagnostic techniques instead of guessing. Taking control over repairs not only saves money but also deepens my understanding of my appliances. I urge you to start small—clean filters, check hoses, and test components—and gradually take on more complex tasks. Remember, many innovative diagnostic tools are now user-friendly and affordable, making self-repair more accessible than ever. As appliance technology advances, staying informed and practicing these skills prepares you for the future of smart diagnostics. If you’re ready to elevate your repair game, begin with reliable tools like a multimeter and trusted online resources. What DIY repair challenge have you faced recently, and how did you handle it? Share your experiences below and let’s learn together.