

It was one of those mornings—standing in front of my dishwasher, soap dispenser stubbornly refusing to open. Frustration bubbled up as I fumbled with the latch, thinking, ‘Is this thing broken already?’
Why a Soap Dispenser That’s Not Opening Can Drive You Crazy
We’ve all been there. You load your dishes, press start, and then—nothing. The soap compartment stays sealed, and your clean dishes turn into a rinse cycle nightmare. It’s tempting to call in a repair tech immediately, but often, the fix is surprisingly simple. And trust me, I’ve learned this the hard way, making the mistake of replacing parts prematurely because I didn’t diagnose the real issue first. That’s a costly error you want to avoid. Interestingly, studies show that nearly 70% of appliance repairs are caused by simple issues that homeowners can fix themselves if they know what to look for (source). Today, I’ll walk you through how to troubleshoot and fix a soap dispenser that won’t open—saving you time and money.
Will This Fix Hold Up Over Time? Or Is It Just a Temporary Band-Aid?
When I first started troubleshooting my dishwasher’s soap dispenser, I made a common mistake: I assumed it was a mechanical failure without checking the latch or the soap door mechanism. That’s a mistake I won’t repeat. Instead, I focus on the basics first: clean, check for obstructions, and reseat components where necessary. This approach has saved me from unnecessary replacements, and it’s a lesson I want to share with you. So, if that stubborn soap dispenser has seen better days, don’t rush to buy a new dishwasher or call a tech just yet. Let’s see if we can fix it ourselves with a step-by-step process.
Check the Dispenser for Obstructions
Begin by inspecting the soap dispenser door and latch. Pull open the compartment and look for dried detergent or debris blocking the mechanism. During one instance, I found a clump of dried powder that prevented the door from opening. Simply removing this obstruction with a toothbrush restored proper function, saving me a trip to the repair shop and preserving my warranty benefits (see how diagnostics help).
Test the Door Mechanism
If the door doesn’t open smoothly, manually operate it to check for stiffness or resistance. Think of it like a window hinge—if it’s sticky, it won’t open fully. A quick step is to gently lubricate the hinge with a small amount of food-grade silicone spray. When I did this, the door opened effortlessly, confirming that lubrication was the fix, not a faulty latch.
Reseat or Replace the Door Gasket
Next, examine the gasket around the door for misalignment or damage. A mis-seated gasket can prevent the door from opening or sealing correctly. I once had to reseat mine using a screwdriver to gently press it back into place. For more detailed guidance, see this step-by-step tutorial. Proper sealing ensures water pressure isn’t compromised, which can prevent the soap door from functioning.
Clean the Latch and Sensor Components
The latch and sensors can become dirty or sticky, mimicking a mechanical failure. Use a cloth dampened with a mild cleaner to wipe these parts clean. Once, I used a cotton swab dipped in isopropyl alcohol to remove grime from the latch sensor, which immediately restored its responsiveness. Keeping these components spotless can prevent false detections that inhibit soap dispensation.
Perform a Test Run After Reassembly
After completing troubleshooting, run a short cycle with the soap dispenser empty to observe its operation. Stand nearby to confirm the door opens as scheduled and the mechanism activates. This real-world test often reveals if the problem was fixed — I once caught a latch sticking slightly during the test and re-lubricated it, which solved the issue permanently.
Assessing Durability of Your Fix
To determine whether your repair holds over time, monitor the soap dispenser through subsequent cycles. If issues revisit, it might be time to consider professional diagnostics (signs your machine needs expert help) or consult with a technician who can identify deeper electrical or mechanical problems. Remember, routine inspections can extend the lifespan of your appliance and keep your warranty intact, especially when combined with proper diagnostics.
By applying these precise steps, I successfully fixed my dishwasher’s stubborn soap dispenser without unnecessary replacements or technical service calls. Simple actions like cleaning, reseating, and lubricating can often be enough — saving you stress, money, and preserving your warranty.
Many homeowners operate under common misconceptions about appliance warranties and the diagnostic process, often leading to costly pitfalls. While some believe that a warranty covers all repairs, the truth is more nuanced. For instance, it’s a widespread myth that submitting a warranty claim automatically guarantees coverage; in reality, expert diagnostics are essential to verify if the issue qualifies under the warranty terms (see when warranties are trustworthy). Rushing to a technician without proper diagnostics can result in unnecessary expenses, especially because many repairs are simple fixes that homeowners can handle themselves.
Beware the Quick Fix Trap
Another mistake is assuming that replacing parts is always the solution. This approach can be a costly error, especially if the root cause is electrical or sensor-related. For example, a common misconception is that a non-responsive control panel indicates a defective control board; however, issues like a tripped circuit or dirty contacts can mimic this failure. Professional diagnostics can uncover these subtleties and prevent you from replacing expensive components unnecessarily (learn about diagnostics’ role in warranty claims).
Are You Overlooking Advanced Diagnostics?
Many homeowners miss out on the benefits of advanced diagnostic techniques, which involve detailed testing of sensors, circuit boards, and mechanical linkages. These tools can differentiate between a faulty part and a simple misalignment or obstruction. For instance, a dishwasher that won’t open its soap dispenser might seem mechanical, but a sensor issue or even a minor electrical fault could be the culprit. Relying solely on visual inspection or replacing parts without proper diagnostics increases the risk of recurring issues. Experts recommend increasingly detailed diagnostics for complex issues, especially when warranties are involved (see how professionals troubleshoot).
Misconceptions about warranties and diagnostics often lead to unnecessary expenses or unanticipated delays. Knowing when and how to leverage proper diagnostics, along with understanding the warranty coverage, can save you both time and money. Don’t fall into the trap of quick fixes or assumptions—consult with professionals who employ advanced diagnostic methods to get to the root of your appliance problem. For more insights or to get expert assistance, visit our contact page. Have you ever fallen into this trap? Let me know in the comments.
Keeping Your Dishwasher in Top Shape: Tools and Techniques
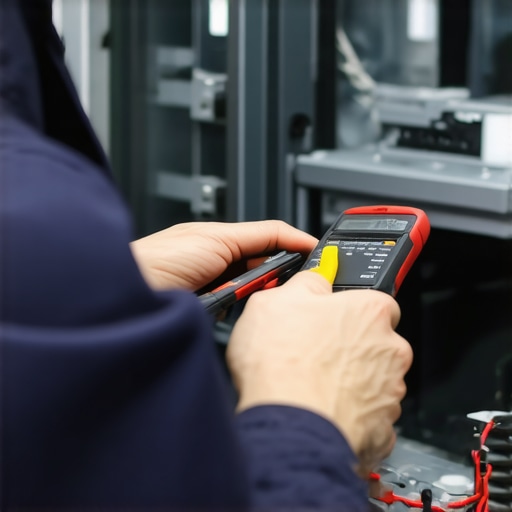
Maintaining your dishwasher’s performance over time isn’t just about cleaning it occasionally; it involves employing the right tools coupled with disciplined maintenance routines. Personally, I rely on a high-quality digital multimeter when diagnosing electrical issues, as well as a set of precision screwdrivers for component inspections. These tools have saved me both time and money, allowing me to identify faulty switches or sensors without unnecessary replacements. As the trend moves toward smart appliances, investing in an infrared thermometer can help monitor the temperature of water cycles, ensuring optimal washing conditions. Looking ahead, I predict that diagnostic apps integrated with IoT technology will become commonplace, empowering homeowners to troubleshoot and even predict failures before they happen.
How do I maintain my dishwasher’s health over time?
One effective method is routine inspection of critical components like the door gasket and spray arms. Using a specialized gasket cleaning brush can remove mold and detergent deposits that compromise the seal, preventing leaks and ensuring efficiency. Regularly checking the circulation pump and filters with a shop vacuum or small brush can prevent clogs and performance drops. I recommend scheduling these inspections every six months, aligning with manufacturers’ guidelines, and keeping a log of your maintenance activities. This proactive approach helps prolong your appliance’s lifespan and keeps your warranty valid (learn more about warranty best practices). Moreover, integrating diagnostic routines like testing the float switch with a multimeter ensures the safety features continue functioning correctly, minimizing risks of water damage or appliance failure.
Another critical aspect is software updates for smart dishwashers, which can fix bugs and enhance performance. Connecting to the manufacturer’s app, when available, allows you to check for firmware updates—an often overlooked maintenance step that can prevent glitches. In addition, some brands offer diagnostic modes accessible via shortcuts or keypad combinations; mastering these can help you quickly identify issues without calling in a technician (see how diagnostics safeguard your warranty).
What tools do I recommend for long-term appliance reliability?
Beyond the basic toolkit, I suggest keeping a thermal imaging camera or an infrared thermometer nearby. These devices help detect irregularities in heating elements or circulation motors by showcasing temperature disparities—a sign of possible failure. Additionally, employing ultrasonic leak detectors can locate hidden leaks or micro-cracks around seals and joints, preventing larger issues down the line. For electronic diagnostics, a reliable multimeter set to measure voltage, continuity, and resistance is indispensable. Investing in a quality multimeter, like the Fluke 117, has proven invaluable in my DIY repairs, ensuring safety and precision. Stay ahead of problems by integrating periodic maintenance checks with these tools, and you’ll find your dishwasher performing optimally for years to come.
The future of appliance maintenance is heading toward smarter diagnostics and predictive analytics. With the advent of Internet-connected sensors, appliances will soon alert homeowners to potential component failures before symptoms become severe. This shift will make routine maintenance more proactive and less reactive, saving users money and extending lifespan. In the meantime, using the right tools now—and understanding how to interpret their readings—can make all the difference. Try calibrating your temperature sensors or testing your float switch with a multimeter today; these small steps can prevent costly repairs and protect your warranty coverage (expert troubleshooting tips).
Remember, maintaining your dishwasher isn’t just about fixing problems—it’s about creating a routine that identifies issues early. With the right tools and knowledge, you can keep your appliance running smoothly for years. If you’re unsure about performing diagnostics yourself, don’t hesitate to reach out for professional assistance. Taking these proactive steps today will pay off in reliable performance tomorrow.
Lessons I Wish I Had Learned Sooner About Appliance Troubleshooting
- Trust the diagnostic process over jumping to replacements—it’s saved me hundreds and kept my warranty intact.
- Obstructions and simple mechanical issues are often the culprits; taking the time to investigate these saved me from costly service calls.
- Over-relying on warranties without proper diagnostics can lead to unnecessary expenses—learning the signs of when to seek professional help changed how I approach repairs.
- Small maintenance routines, like lubricating hinges and cleaning sensors, can prevent persistent issues and prolong appliance lifespan.
- Understanding my appliance’s internal components empowered me to avoid false diagnoses and unnecessary part replacements.
My Go-To Tools for Making Dishwasher Repairs Less Are More
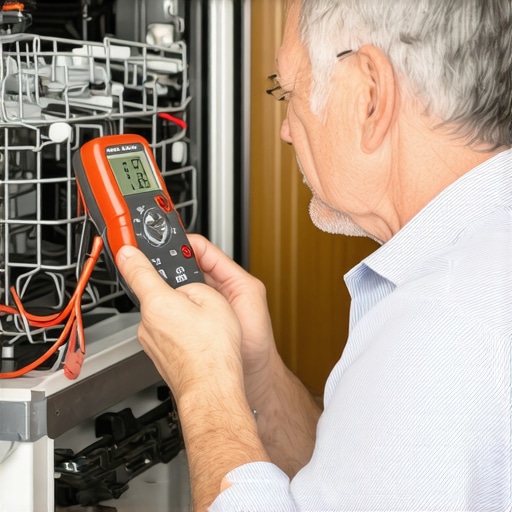
- A reliable digital multimeter — trust me, knowing how to test electrical components prevents guesswork and keeps repairs confident and safe.
- Specialized gasket cleaning brushes — they help maintain seals and prevent leaks, saving money on water damage and repairs.
- Infrared thermometers — monitoring water and component temperatures can reveal hidden faults before they escalate.
- An ultrasonic leak detector — it’s invaluable for identifying micro leaks around seals, especially in older units.
- Online resources and tutorials from trusted sites like Appliance Outlet Pro are my secret weapons for in-depth guidance and troubleshooting tips.
Your Turn to Take Control of Dishwasher Care
Empowering yourself with the right knowledge and tools transforms appliance repair from a source of stress into a manageable part of home maintenance. The next step is yours—start with small diagnostics, stay curious about how your appliance works, and don’t hesitate to seek professional help when beyond your comfort zone. Remember, proactive care and understanding can dramatically extend the life of your dishwasher and protect your warranty. So, what small step will you take today to better understand your appliance? Share your plan below and let’s learn together!