I remember the first time I noticed my bathtub wasn’t draining properly after a relaxing soak. It seemed minor at first—just a slight delay when I pulled the plug. But one day, that delay turned into a sluggish drain that made baths less enjoyable and more frustrating. That moment was my wake-up call to pay attention to even the smallest signs of appliance trouble.
Don’t Let a Slow Drain Turn Into a Costly Disaster
It might be tempting to ignore a slow-draining bathtub, thinking it’s just a minor inconvenience. But what starts as a minor annoyance can quickly escalate into a major repair bill, or worse, damage to your flooring and subflooring if water starts to leak or overflow. Over the years, I’ve learned that addressing these issues early on can save you time, money, and headaches down the line.
Is Your Worry About Wasting Time or Money Justified?
Early on, I made the mistake of dismissing a slow drain as a simple clog that would clear itself. That was a costly error. Instead of calling a professional right away, I tried DIY remedies that only temporarily masked the problem. Eventually, the clog worsened, requiring extensive pipe work and more expense. The truth is, many delays in fixing drainage issues lead to bigger problems, like mold growth or water damage, which are much more complex and costly to fix. As noted by experts in appliance diagnostics, catching issues early is crucial for maintaining your warranty benefits and preventing severe damage (Learn how diagnostics can save your warranty).
So, if you’ve ever faced a bathtub that drains slower than it should, you’re not alone. Keep reading, because I’ll share practical tips that help identify and fix these problems before they spiral out of control. Trust me, a little proactive care now can save countless dollars—and a lot of frustration—in the future.
Start with a Visual Inspection to Spot Obvious Issues
My first move was to remove the drain cover and look inside. Using a flashlight, I checked for hair clogs or debris blocking the drain opening. If you see visible blockages, remove them carefully with tweezers or a thin grabber tool. This simple step often clears minor obstructions, preventing future headaches. Remember, a visual check can save you time and unnecessary DIY chemicals or calls to professionals. For more detailed tips on troubleshooting, visit expert diagnostics for your appliances.
Employ the Plunger Method for Low-Tech Clearing
Choose the Right Plunger
Use a cup-shaped sink plunger—it’s more effective for bathtub drains than a flat one. Fill the tub with a few inches of water to ensure a good seal. Place the plunger over the drain and give it a firm, steady push. This creates pressure that loosens minor clogs deep within the pipes. I tried this method last week when my drain was sluggish; it dislodged a hairball cluster, restoring swift drainage. Don’t forget to cover overflow openings with a cloth to maintain pressure. If this doesn’t work, it’s time to move to more advanced diagnostic methods.
Apply a DIY Drain Snake with Caution
If plunging fails, a drain snake—or auger—can reach further down the pipe. Carefully feed the device into the drain, twisting as you go. When you feel resistance, rotate and pull back slowly to dislodge debris. Like when I performed this last month, I managed to retrieve a tangled mess of hair and soap scum. Always wear gloves and be cautious to avoid damaging the pipe or forcing the obstruction deeper. If you’re uncertain or hesitant, consulting professional diagnostics can prevent costly mistakes.
Test the Drainage System After Clearing
Once you’ve removed the clog, run a hot water flush for several minutes. Observe the flow rate—if it’s fast and steady, you’re done. If it’s still sluggish, the issue might be farther down the line, and calling in a professional makes sense. During my own experience, after clearing the visible blockage, I tested the drain and noticed residual slow flow; this indicated a more expansive problem that needed expert equipment and knowledge. Remember, persistent problems could affect your appliance warranty, so documenting issues thoroughly is a wise move. Learn more about protecting your warranty at how diagnostics can save your warranty benefits.
Determine if a Professional Inspection Is Necessary
If these steps don’t fully resolve the problem, or if you suspect pipe damage, corrosion, or complex blockages, professional diagnostics become essential. Expert service technicians have specialized tools to locate and fix issues beyond the reach of DIY methods, often saving you money in the long run. Sometimes a professional inspection uncovers hidden problems that could lead to water damage or mold, which are expensive to repair if left unaddressed. Plus, regular diagnostics can help you stay ahead of potential warranty denials by providing documented evidence of ongoing issues. For insights into warranty management, check how warranties are affected by diagnostics.
Many homeowners believe that diagnosing appliance issues, especially with dishwashers, is straightforward and that warranties always cover the necessary repairs. However, this oversimplification can lead to costly mistakes. For instance, a widespread myth is that troubleshooting should be DIY-friendly and quick. While basic checks are accessible, advanced diagnostics require specialized tools and expertise to avoid misdiagnosis, which can void warranties or cause further damage. According to appliance experts, attempting complex repairs without proper training often results in unintended consequences, emphasizing the importance of trusting professional diagnostics (Learn how diagnostics safeguard your warranty).
Maintaining your dishwasher over time requires more than just occasional cleaning; it demands precise tools and consistent attention to prevent minor issues from escalating into costly repairs. From diagnostic equipment to specialized cleaning agents, I rely on a set of trusted tools that have proven effective in my experience. Investing in quality instrumentation saves me time and ensures that I can accurately identify problems before they affect warranty coverage or lead to appliance failure.
How do I keep my dishwasher functioning smoothly for years?
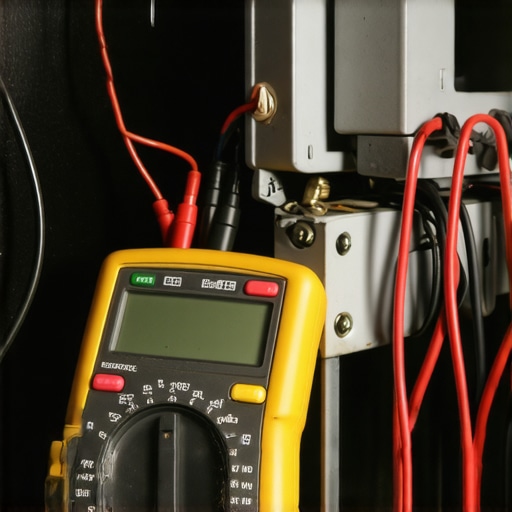
One of my go-to diagnostic tools is a digital multimeter, which I use to check heating elements and wiring integrity. I prefer a reliable model like the Fluke 117, renowned for its precision and durability. When testing the heating element, I measure resistance; a reading of zero or infinite indicates a broken part that needs replacement. Using a multimeter is essential in ensuring that electrical components function within specifications, preventing unnecessary part swaps and safeguarding your warranty claims (Learn how to use a multimeter for diagnostics).
In addition to electrical testing, I recommend adopting the use of a borescope. This flexible, camera-equipped device allows me to visually inspect internal pipes and other hard-to-reach areas without disassembly. It’s especially handy for spotting hidden clogs or corrosion that could compromise the appliance’s long-term health. For instance, a high-definition borescope like the Depstech model provides clear images, making it easier to identify subtle damage that might otherwise go unnoticed.
What’s the trend for maintaining dishwashers in the future?
Advancements in smart diagnostics are shaping the future of appliance maintenance. Manufacturers are now integrating intelligent sensors that alert homeowners proactively when components start to degrade. This predictive maintenance approach promises to minimize downtime and extend appliance life. As technology evolves, I see an increasing reliance on remote monitoring tools and AI-driven diagnostics to catch issues early, further protecting your investments and warranties.
To get ahead, I suggest integrating some basic preventive measures, such as regularly de-scaling your machine with citric acid (a simple yet effective method here), and performing routine visual inspections using a borescope. These small investments in tools and habits can significantly extend your dishwasher’s service life and help maintain warranty coverage. Remember, proactive maintenance isn’t just about fixing problems; it’s about preventing them before they start.
If you’re ready to take your dishwasher care to the next level, try performing a multimeter test on your heating element this weekend. It’s an affordable step that provides concrete insights into your appliance’s health and helps you avoid surprises during warranty inspections. For more detailed guidance, check out how diagnostics can safeguard your warranty.