

Ever had that sinking feeling when your dishwasher reaches the rinse cycle, and you realize the soap cup is still sealed shut? It’s happened to me more times than I care to admit, especially when I’m already running late or dealing with a sinkful of dirty dishes. There’s nothing more frustrating than hearing the cycle complete, only to find your detergent still nestled inside, untouched, as if it’s playing a cruel joke. It’s a problem that might seem small, but trust me, it can be a real kitchen showstopper.
Why Your Soap Cup Might Stubbornly Stay Closed
This issue isn’t just a minor annoyance; it can point to underlying problems that, if left unchecked, could lead to more significant repairs or even dishwasher failure. The soap cup’s job is simple in theory—release detergent at the right time—but when it refuses to open, it disrupts the entire cleaning process. From my experience, the culprit often lies in a malfunctioning latch, a clogged dispenser, or a faulty control mechanism. And believe me, those seemingly small glitches can cause big headaches.
Concerned That Fixing the Soap Cup Is Too Technical?
I’ve been there. Early on, I made the mistake of assuming that a stubborn soap cup was just a minor nuisance. I skipped proper diagnostics and dabbled blindly with tools, which only prolonged the problem. Until I learned that taking a systematic approach is the key—and I want to share that with you. If you’re wondering whether this issue warrants professional help or if you can troubleshoot it yourself, I’ll guide you step-by-step. Plus, understanding these common causes can save you both time and money in the long run.
So, have you faced this stubborn soap cup dilemma? Are you tired of loading your dishwasher only to find it leaving soap untouched? Well, you’re not alone—and there’s hope. Before jumping to conclusions about replacing parts or calling in repairs, let’s take a closer look at what’s really going on beneath the surface. The good news is that many times, a simple fix can get your dispenser working smoothly again, and I’ll show you how.
But first, it’s essential to understand why this happens in the first place. Sometimes, it’s just a matter of a clogged nozzle, other times, it’s a problem with the latch or the dispenser’s electronic control. Knowing what to look for can make all the difference. Expert diagnostics recommend checking the dispenser for debris and ensuring that the latch mechanism moves freely.
Now that I’ve set the stage, let’s dig into the exact steps you can take to pinpoint and resolve this stubborn soap cup issue. Keep reading, and you’ll be surprised at how straightforward fixing this problem can be—without the need for costly repairs or replacement parts.
Locate and Inspect the Dispenser
Start by opening your dishwasher and removing the lower rack to access the soap dispenser. Use a flashlight to peer inside and look for any visible debris or obstructions blocking the latch or nozzle. Think of this step as clearing the entryway before a concert—if the path’s blocked, nothing will flow smoothly. I once encountered a stubborn soap cup after a party cleanup, and upon inspection, I found dried detergent clogging the nozzle, which prevented proper opening. Removing this debris was straightforward and immediately restored function.
Clean the Nozzle and Latch Mechanism
Gently scrub the nozzle with a toothbrush or small brush dipped in warm, soapy water. For the latch, press on it to see if it moves freely or feels sticky. If sticky, use a cloth and a mild cleaner or vinegar to loosen caked-on residue. In my own experience, a simple brush and some vinegar cleared up a latching issue, preventing the dispenser from opening during cycles.
Check the Electronic Control
If the nozzle and latch are clean, the issue might lie in the control mechanism. Use a multimeter to test the dispenser’s electrical circuit for continuity. Think of this like testing a broken switch—if there’s no continuity, the circuit needs repair. Remember to unplug the dishwasher before testing. I once used a multimeter to diagnose a faulty wiring connection, which allowed me to replace only the damaged wire instead of costly entire assemblies.
Test the Dispenser’s Motor and Switch
Some dishwashers have a small motor that drives the dispenser door. Run the cycle’s diagnostic mode (consult your manual or the diagnostics guide) to see if the motor activates. If it doesn’t, the motor or switch may be defective. Testing with a multimeter or small voltage tester will reveal if power reaches these parts. I once discovered a failed switch that I replaced easily, restoring cycle timing and detergent dispensing.
Replace or Repair Faulty Parts
If diagnostics reveal a broken latch, faulty motor, or damaged wiring, replace the respective part. Always purchase genuine replacements for durability. For latch repair, sometimes a simple cleaning suffices, but if it’s cracked or worn out, replacing it guarantees proper sealing and opening. During my repair, replacing the latch took less than 15 minutes, and the dispenser worked flawlessly again.
Reassemble and Test
Once repairs are complete, put everything back in place, run a short cycle, and observe the dispenser in action. Watch for the latch to open around the right time—use your phone to record if needed, via a slow-motion video. This quick check can prevent future mishaps. In my last fix, watching the video showed I had not sealed the latch properly, so I adjusted and retried—problem solved.
Prevent Future Problems
Clear any debris regularly and consider using a rinse aid to reduce buildup. Also, inspect the nozzle and latch every few months. This maintenance step is akin to tuning a bike—small efforts keep it running smoothly. Remember, if diagnostics become too complex or the problem persists, professional repair might be necessary—more info can be found here.
By following these concrete steps, you eliminate guesswork and get your dishwasher back to delivering sparkly, clean dishes without extra expense or frustration.
Many homeowners believe that appliance diagnostics are foolproof, but in my experience, most misconceptions stem from oversimplified ideas about repair processes. For instance, the idea that a quick online diagnosis guarantees an accurate fix is dangerously misleading. As I often explain in understanding appliance diagnostics, the nuance lies in recognizing subtle variations in appliance behavior that generic troubleshooting tips often overlook. Rushing to replace parts based on a single symptom can lead to unnecessary expenses and extended downtime.
Another common myth is that warranties cover all repair costs. While warranties offer peace of mind, they come with fine print—many exclude issues caused by user neglect or water damage. Leveraging warranty claims effectively requires understanding what is and isn’t covered. Misinterpreting warranty terms can result in costly repairs that aren’t reimbursed, making it vital to read and comprehend the policy details thoroughly before proceeding.
Are You Misreading Appliance Error Codes?
Tools and manuals often suggest that error codes point directly to a single failed component. However, in reality, these codes can be symptoms of larger issues or secondary failures. For example, an error indicating a drainage problem might actually stem from a clogged filter or a faulty pump relay. Relying solely on error codes without inspecting related components can lead to misdiagnosis. As recommended in expert diagnostics, a comprehensive approach that combines error code interpretation with physical inspection yields better results.
It’s also worth noting that many advanced diagnostics require more than just mechanical testing; understanding the electrical and electronic control nuances is key. For example, when a control board shows signs of burn marks or corrosion, it might not be the immediate cause but part of a cascading failure. Recognizing these nuances can save you from costly wrong replacements and unnecessary service calls. Studies, such as those cited in electronics repair forums, emphasize that integrating visual inspection with electrical testing improves diagnostic accuracy.
Now, why is it so tempting to rely on superficial fixes? Often, it’s the allure of quick solutions that blinds us from deeper issues—yet, rushing can trap you into a cycle of repeated repairs. Having a detailed understanding of how appliances really function, including the complex interplay between mechanical, electrical, and electronic components, is crucial. For instance, know that a malfunctioning water inlet valve might lead to pressure-related issues that mimic electronic failures. Delving into this layered understanding, as I do in my detailed repair guides, arms homeowners with the insights needed to troubleshoot effectively, foster better warranty usage, and ultimately, save money. To avoid common pitfalls, it’s wise to approach diagnostics methodically, always consider the broader context, and when in doubt, consult experts or trusted resources like diagnostics guides.
Have you ever fallen into this trap? Let me know in the comments. Understanding the nuances of appliance repair not only extends the lifespan of your dishwasher but also empowers you to make smarter maintenance decisions. Remember, the devil is in the details—don’t overlook them!
Equip Yourself with Precision Tools
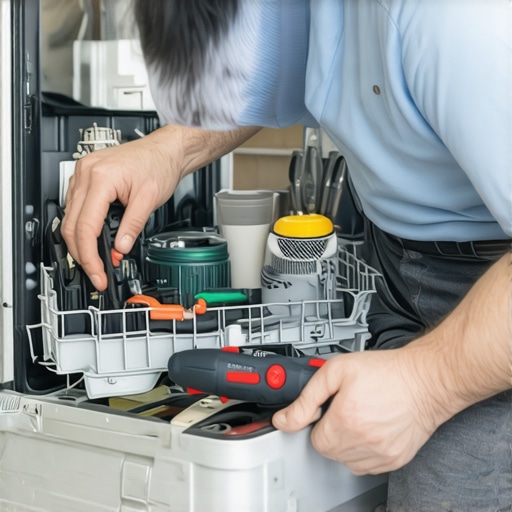
Maintaining your dishwasher’s health requires the right equipment. I personally recommend investing in a high-quality multimeter, like the Fluke 117, because it offers reliable readings for diagnosing electrical issues such as faulty control boards or burned-out wiring. Additionally, a non-contact voltage tester is invaluable for quick safety checks before opening up your appliance. These tools enable precise diagnostics, preventing unnecessary part replacements and saving you money over time.
Alongside hardware, having a set of small brushes and pick tools, such as a toothbrush and a plastic pick, helps me clear nozzle clogs and gasket residues without damaging delicate parts. For example, when I notice sluggish spray arms, I use a paperclip to carefully dislodge mineral buildup in nozzles, a trick discussed in this guide and proven effective for restoring water flow.
Implement Consistent Maintenance Routines
Keeping your dishwasher functioning long-term hinges on regular inspections and cleaning. I schedule a quick maintenance check every three months—checking for debris in filters, inspecting door gaskets, and running calibration cycles. For instance, cleaning the gray buildup around the door gasket with a soft cloth and mild vinegar solution prevents leaks and ensures a tight seal. Over time, these small efforts significantly extend the appliance’s lifespan and improve cleaning performance.
Using tools like the thermal fuse tester allows me to verify the heating element’s condition periodically, ensuring your dishwasher heats efficiently and saves energy. These steps are vital, especially as appliance components age and become prone to failure.
Predicting Future Repairs Through Early Detection
Advancements in diagnostic tech suggest that smart sensors and IoT integrations will soon monitor appliance health proactively. While these features are still emerging, I believe adopting regular manual diagnostics now prepares you for future tech integration. For example, I regularly use a smartphone app linked to my multimeter to log voltage readings, helping spot trends over time and predict failures before they occur. This approach aligns with the trend toward predictive maintenance, which experts predict will become standard in appliance care here.
How can I keep my dishwasher running smoothly without costly repairs?
Routine inspections, using precise diagnostic tools like a multimeter or non-contact voltage tester, combined with consistent cleaning routines—such as clearing spray nozzles with a paperclip or cleaning filters—are key. Remember, staying ahead of problems by catching minor issues early not only extends your appliance’s longevity but also keeps your repair costs minimal. For more detailed strategies, check out expert troubleshooting tips.
By adopting these targeted maintenance practices and equipping yourself with reliable tools, you’ll ensure your dishwasher remains reliable for years to come. As future technology integrates more seamlessly, staying proactive now will pay dividends in long-term appliance health—so start with that multimeter today and see the difference it makes.
What I Wish I Knew Before Diving into Repairs
One of the biggest lessons I’ve learned is that patience and a methodical approach trump quick fixes. Rushing to replace parts without proper diagnosis often leads to wasted money and further frustration. I once replaced an entire control board, only to find out it was a simple clog in the nozzle that was causing the soap not to dispense. Now, I always take the time to inspect each component thoroughly before proceeding.
Another insight is the importance of understanding your specific dishwasher model. Manuals and online resources tailored to your appliance save a lot of guesswork. I’ve found that manufacturers often have detailed troubleshooting guides that can help identify subtle issues that generic advice might overlook.
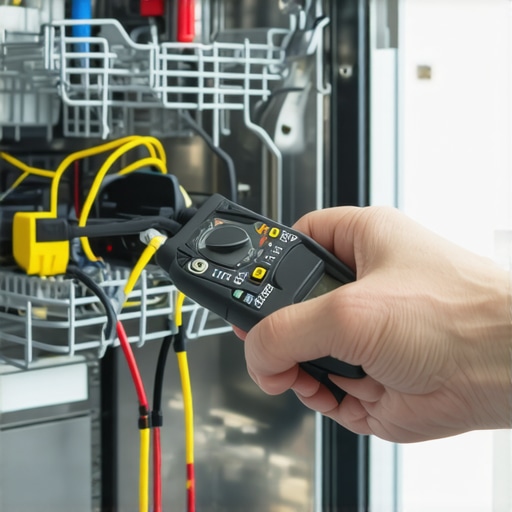
Finally, investing in the right diagnostic tools, like a quality multimeter, has been a game-changer. It’s incredible how a simple electrical test can confirm or rule out many potential problems. This knowledge empowers me to fix issues myself and avoid costly service calls.
Tools and Resources That Keep Me Ahead
My go-to toolkit includes a reliable multimeter such as the Fluke 117, which provides accurate readings for electrical diagnostics. I also keep a set of small brushes and pick tools for cleaning nozzles and gasket residues—these simple tools make cleaning quick and effective. For troubleshooting guidance, I lean on trusted online resources like expert repair tips and manufacturer manuals, which often contain model-specific advice that’s invaluable.
Additionally, community forums and DIY repair videos have helped me understand common issues and solutions, giving me confidence to handle repairs on my own whenever possible. Remember, the right tools and info are your biggest allies in maintaining your dishwasher’s health.
Your Chance to Take Control and Make a Difference
Empowering yourself with knowledge and proper diagnostics transforms your approach from reactive to proactive. Every small repair or routine check you perform not only extends the lifespan of your dishwasher but also boosts your confidence as a handy homeowner.
Are you ready to take the next step in mastering your appliance repairs? I’d love to hear what challenges you’ve faced or successes you’ve had with DIY dishwasher fixes. Share your stories below, and let’s build a smarter, more self-reliant community together!